Popular Printing Locations


Heat-Pressing Guide
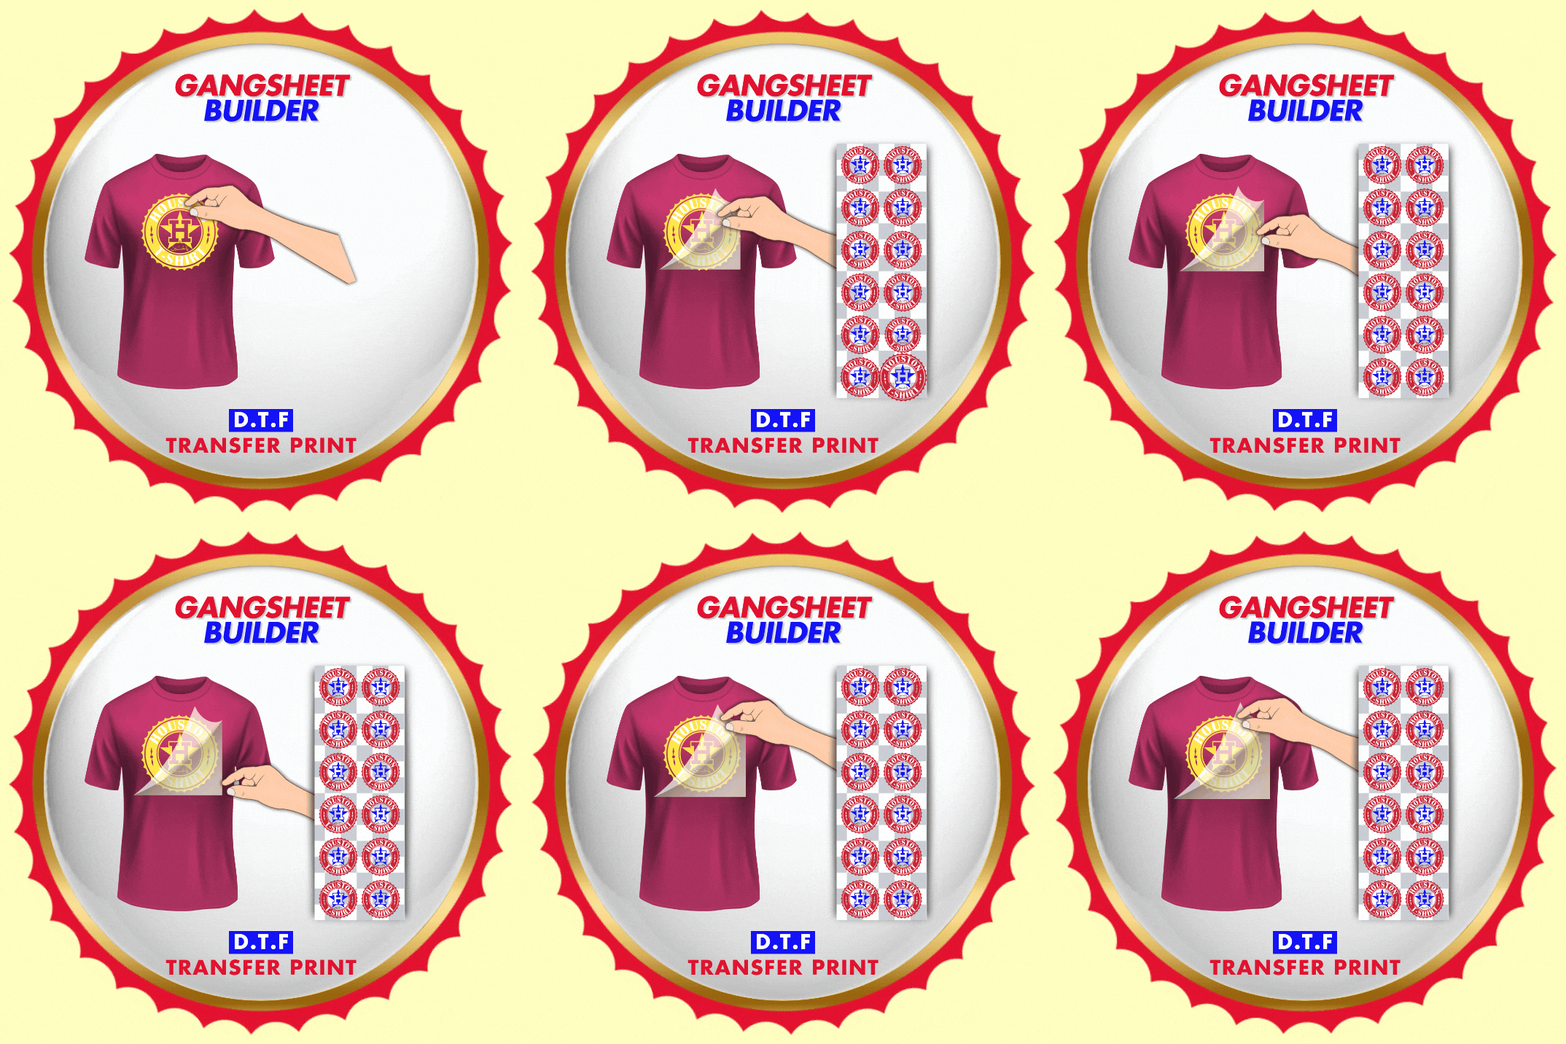
DTF Pressing Instructions
Follow These Steps for an Efficient DTF Pressing Process
You’ll achieve beautiful, durable designs on your fabrics.
Cotton Fabrics
Set your heat press to 260°F (127°C). This is perfect for cotton. It helps the DTF transfer stick without burning. The ink bonds well, making the design bright and durable. Use instant or hot peel.
Polyester Fabrics
Set your heat press to 230-260°F (110-121°C). Polyester needs lower heat because it can melt or get damaged easily. This temperature keeps the fabric safe and helps the DTF transfer stick well. Use instant or hot peel.
Required Time
Place the DTF film on the fabric and press with medium to hard pressure for 15 seconds. Then, for better adhesion and durability, do a second press at 300°F (149°C) for 5 seconds using a Teflon sheet.
Troubleshooting
Before you begin, check that your heat press is calibrated. This ensures it's set to the right temperature and pressure for a good transfer. Use a temperature gun to verify the actual heat matches the display. If there's a difference, adjust it accordingly.
Art/File Requirements
1. Accepted File Formats
Recommended File Types: PNG (300 DPI), AI, PSD, PDF, EPS.
Notes:
- Ensure files are saved in one of the accepted formats before uploading.
- If you don’t want the background printed, remove it or use a transparent background. We’ll print exactly what you upload.
2. File Quality and Size
Resolution: 150 – 900 DPI.
File Size: Send your artwork at the exact dimensions you want it printed. We won’t resize it. For example, if you choose a 22"x12" sheet but upload a 10"x10" image, it will print as 10"x10".
Gang Sheet Maximum Width: 22 inches (length as selected during checkout).
Artwork Services: Need help with sizing or modifications? Artwork services are available for an additional fee.
3. Color Requirements
Color Mode: All artwork must be in CMYK format. If you send RGB, we’ll convert it to CMYK, which may cause color changes. We’re not responsible for color variations due to this conversion.
Spot Colors: Any spot color artwork will be converted to CMYK.
White Areas: Clearly mark white areas in your design if you want them printed white.
Background Removal: Remove any unwanted backgrounds. If left in, they will be printed.
4. Text and Outlines
Text Conversion: For vector files, convert all text to outlines or curves to avoid font issues.
Raster Files: Ensure the artwork is at least 300 DPI at the desired print size for clear results.
Minimum Line Weight: Keep lines and details at least 2pts thick. For smaller details, use at least 0.5pt for better results.
5. Design Tips
Minimum Line Thickness: Use at least 0.5pt for print areas to ensure they stick properly.
Text Size: Text can be as small as 6pt if bold. Smaller text may not be clear.
Spacing: Leave at least 0.5" between designs for easy cutting.
6. Design Restrictions
Avoid using:
- Glow effects.
- Transparency gradients or opacity effects.
- Very fine details or small, non-bold text.
Tip: Add a stroke to fine details to make them thicker. For complex gradients, consider DTG printing.
7. Final Check
Review Before Sending: We don’t check files individually. Make sure your file meets all requirements and is ready to print as-is.
Order Cancellation: If your artwork doesn’t meet the guidelines, we may have to cancel your order.
By following these guidelines, you’ll get high-quality, vibrant, and durable prints. If you need help, feel free to ask!

